Photoshop Smart objects are often used in pre-made Photoshop based mockups and allow for your artwork to be automatically manipulated to look realistic by simply adding your artwork to the Smart Object. With a little bit of basic photoshop knowledge they can be a great time saver.
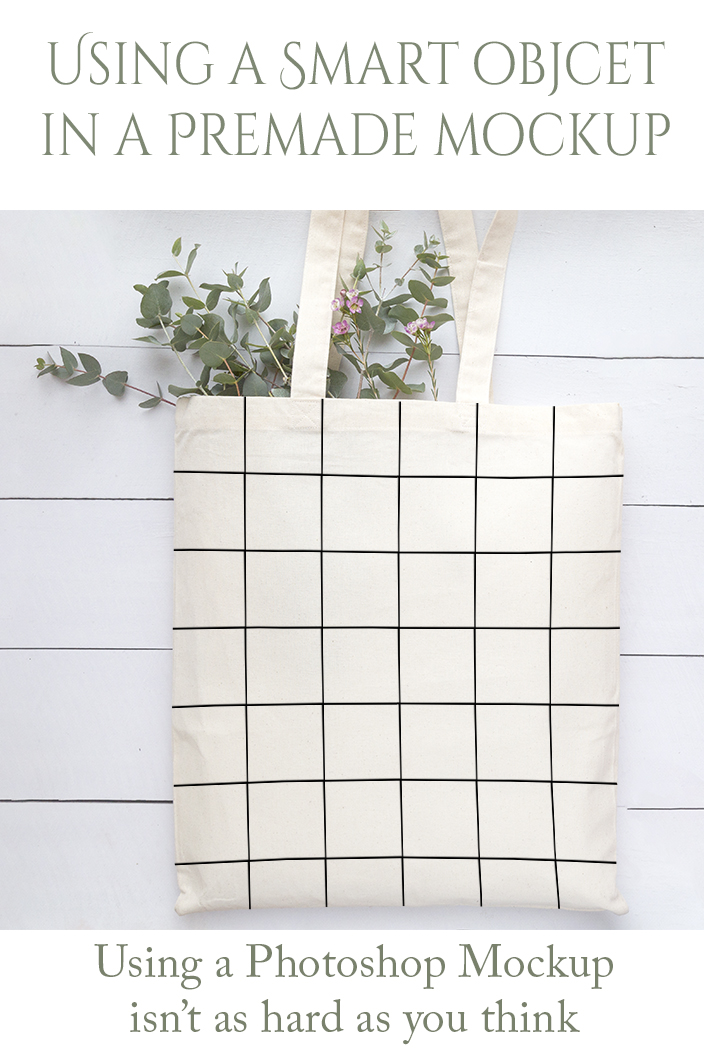
In this example, the Smart Object covers the body of a tote bag, warps it slightly to follow the curves of the tote bag, and masks the tote bag so that the artwork placed in the Smart Object cannot show outside the tote bag area.
Open the file
Make sure the layers panel is open. If it isn’t, go to Window>Layers.
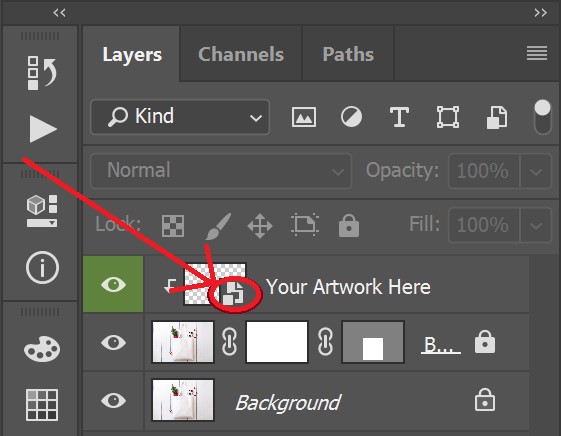
Double click on the smart object icon (circled below) next to “Your artwork here” to open the smart object layer.
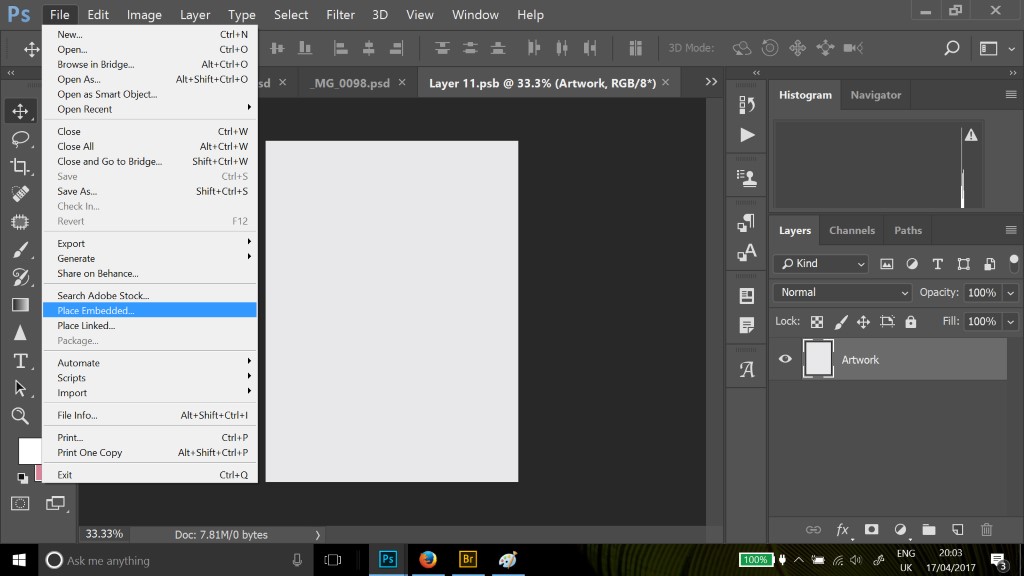
This opens a new window in photoshop (a psb file). This is where you will place your artwork.
In the new window, select File > Place embedded
Choose your artwork file in your directory that you want to use and click on it.
This will put the file over the placeholder on the screen.
If needed, click on the corner of the inserted artwork to resize it.
When you are happy, press return or select the tick. This will place the artwork into the smart object layer.
Click the X in the top right corner of the document
It will ask if you want to save, select YES.
This will close the psb file and return you to the main file. You will now have your artwork placed inside the area of the smart object.


