How to use a Smart Object in Photoshop

2019-08-01T17:45:56+00:00

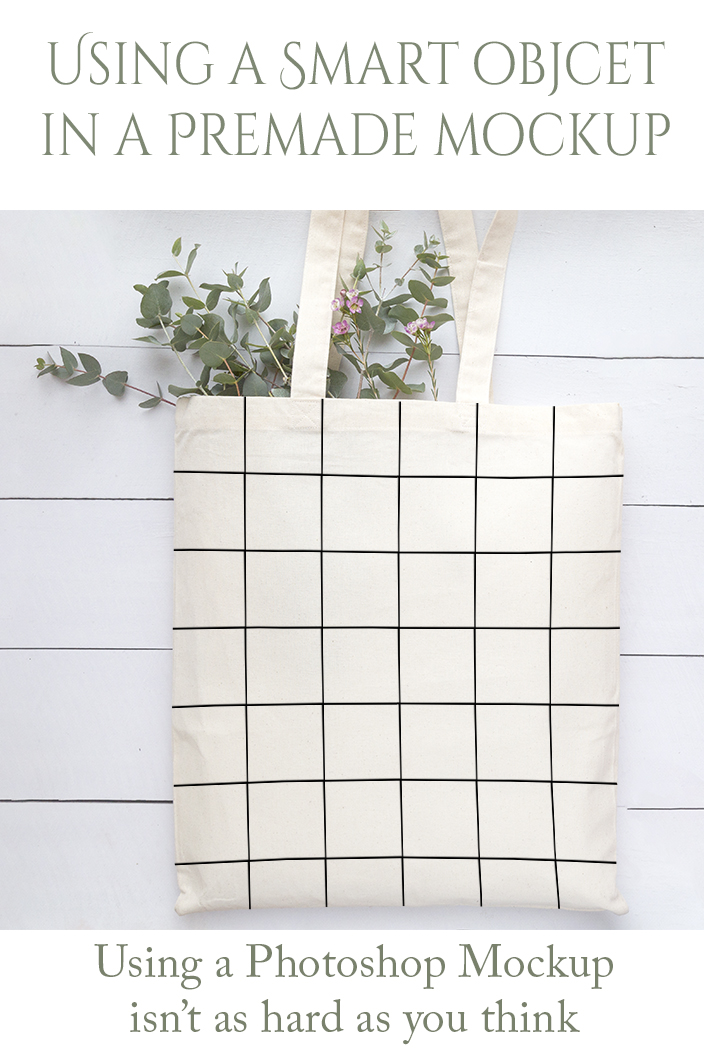
Photoshop Smart objects are often used in pre-made Photoshop based mockups and allow for your artwork to be automatically manipulated to look realistic by simply adding your artwork to the Smart Object.  With a little bit of basic photoshop knowledge they can be a great time saver. In this example, the Smart Object covers the body of a tote bag, warps it slightly to follow the curves of the tote bag, and masks the tote bag so that the artwork placed in the Smart Object cannot show outside the tote bag area. Open the file Make sure the
How to use a Smart Object in Photoshop2019-08-01T17:45:56+00:00

Curve your artwork around a mug in a mockup photo

2019-07-27T22:13:54+00:00

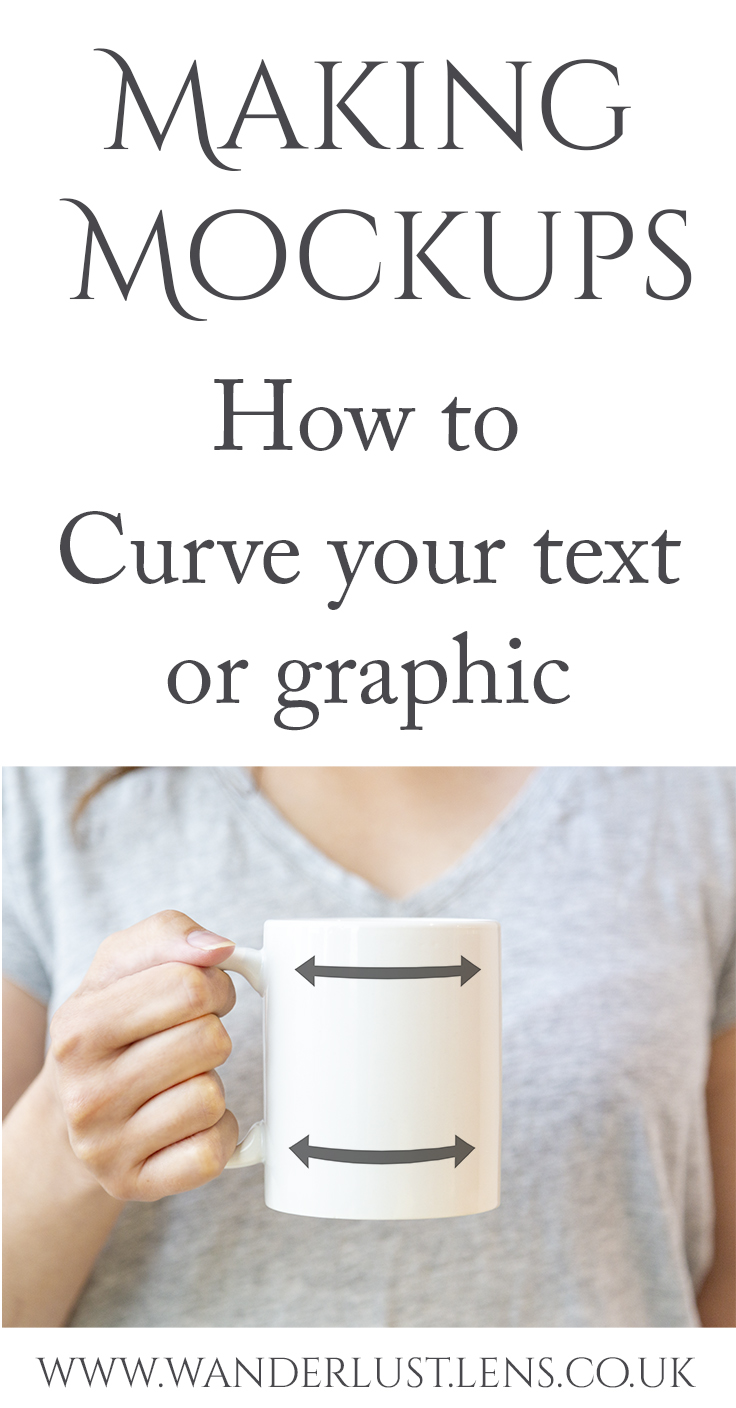
To do this we are going to use the Transform Tool to gently curve the artwork so it looks like it would if it were on a mug. Observe how much the curve of the mug appears in the photo and as a general rule curve a little less. This should be a subtle change on a mug that is shot straight on like in the example. Your can buy the mockup photo in Etsy at https://www.etsy.com/uk/WanderlustLens/listing/710515692/photo-for-mug-mockup-woman-holding-mug?utm_source=Copy&utm_medium=ListingManager&utm_campaign=Share&utm_term=so.lmsm&share_time=1564265536807 Open the JPG file in Photoshop.  Make sure the Layers panel is open   Under File > Place Embedded. This

Curve your artwork around a mug in a mockup photo2019-07-27T22:13:54+00:00
Go to Top